How to Do Deadbolt Installation Step-by-Step for Better Home Security
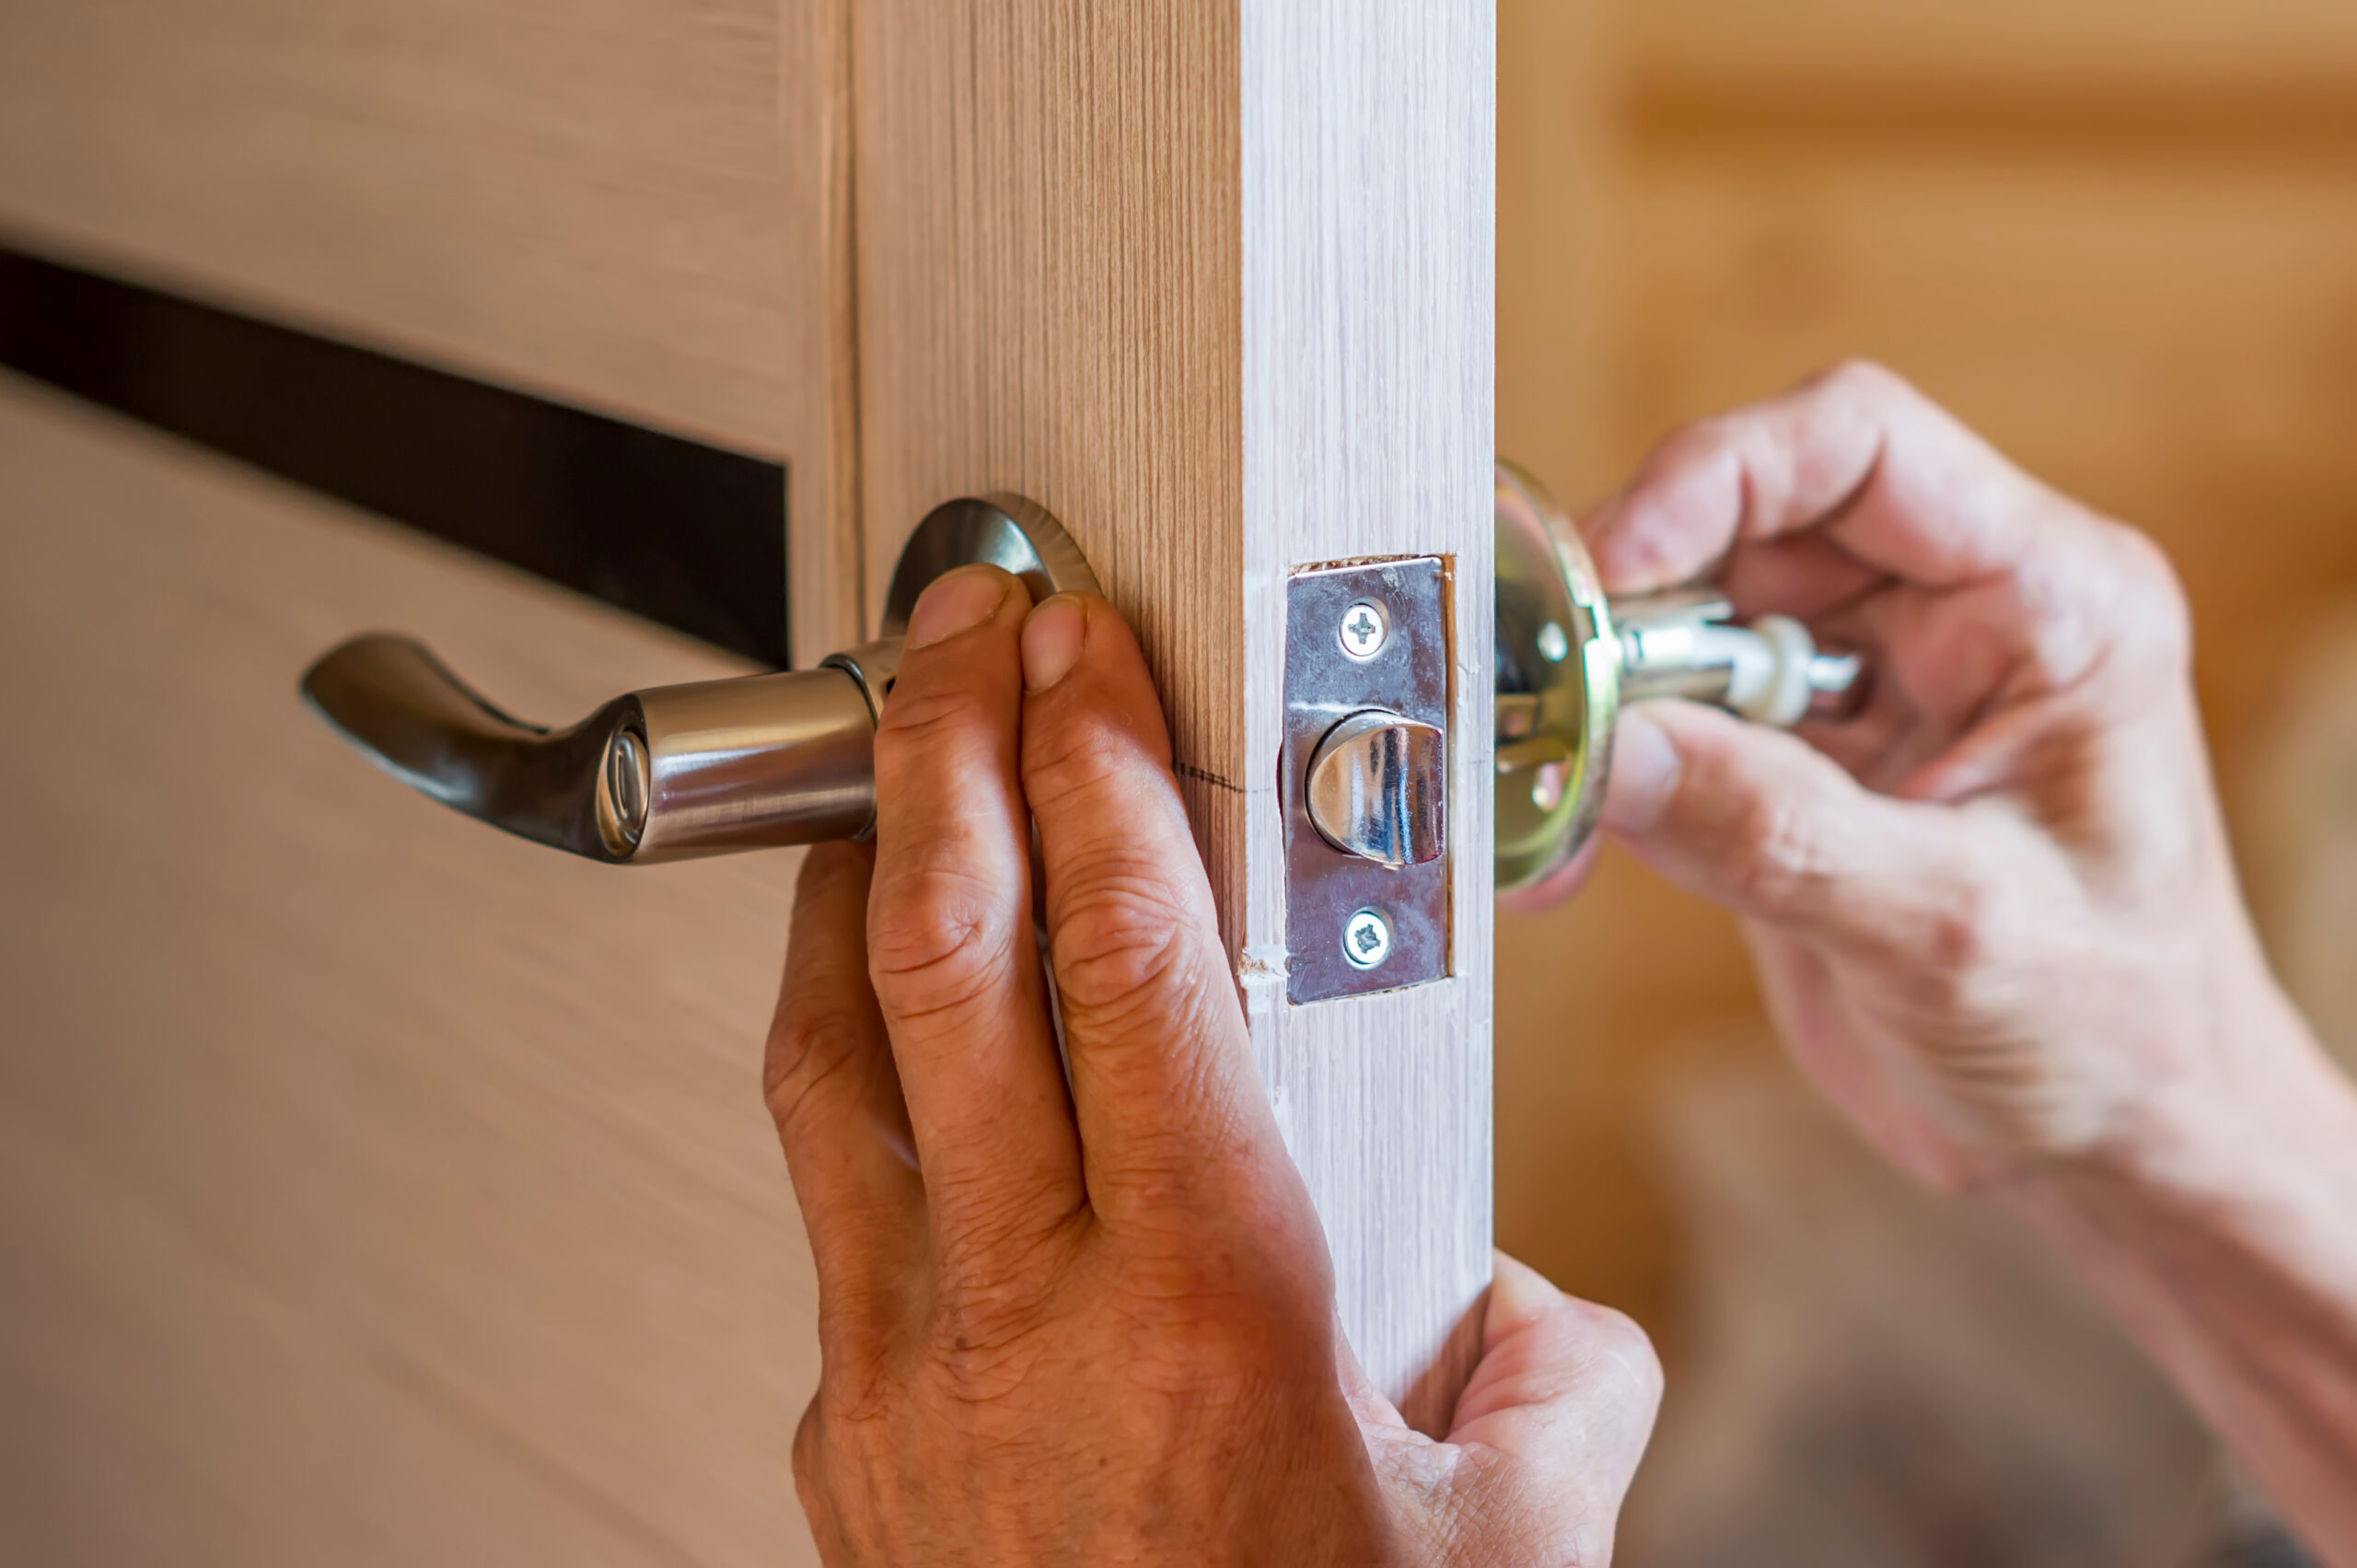
Updating your front door can be as simple as adding a fresh coat of paint and upgraded hardware. Both DIY door projects are easier than expected and can be finished in less than a weekend. Therefore, to help you achieve your new look – and improve the security of your home – we’re going to show you how easy deadbolt Installation can be.
Door Preparation
Before we start, be sure your door is appropriately drilled and fitted. This will help to make sure installation goes smoothly and the deadbolt is as secure as possible.
Next, gather the tools you need for door lock installation. All you need is a tape measure and a #2 Phillips head screwdriver. However, using an electric drill is not recommended for installation as it can easily strip screws and damage your lock hardware.
Deadbolt Parts Checklist
Once you’ve collected your tools, you’re ready to begin installing your deadbolt lock. The first step is to confirm you have all parts. Here’s a checklist for you:
- Outside housing – The portion of your deadbolt that goes on the outside of your door where you insert the key.
- Inside thumbturn – The part inside the house that allows locking and unlocking from the inside..
- Round drive-in faceplate – Optional piece to replace the rectangular faceplate if your door requires it.
- Strike plate – A metal plate fixed to the frame for added strength.
- Reinforcement plate – Optional hardware for extra frame security.
- Short screws – For securing the bolt and faceplate.
- Tapered long screws – For attaching the inside thumbturn to the outside housing.
- Wood screws – For reinforcement plate installation.
How to Prepare Your Front Door to Install a Deadbolt Lock
Step 1: start to install your deadbolt lock by placing the bolt. The latch comes with a pre-attached rectangular faceplate. If you’re using it, continue to Step 2.
If replacing with the round drive-in faceplate:
Remove the faceplate gently with a flathead screwdriver.
Rotate and remove the support plate.
Snap the round drive-in faceplate into place.
Step 2: If your door backset is 2 3/8″, no further adjustment is required. Otherwise, if it’s 2 3/4″, simply twist the faceplate until the bolt snaps into place.
Step 3: For the rectangular faceplate, slide the bolt in with “top” facing upward and secure using two short screws. For the drive-in faceplate, tap it gently with a wood block and hammer until flush.
Step 4: Some deadbolts use Snap and Stay technology to hold the outside housing in place while attaching the inside thumbturn. If your crossbore is 1-1/2″, remove the bracket before continuing.
Step 5: Align the outside housing (logo facing up) and insert the tailpiece into the bolt.
Step 6: Match the slot on the inside thumbturn with the tailpiece and secure using two self-guiding long screws.
Step 7: If desired, install the reinforcement plate on the frame using wood screws.
Step 8: Finally, attach the strike plate over the reinforcement plate (or directly to the frame) using the remaining short screws.